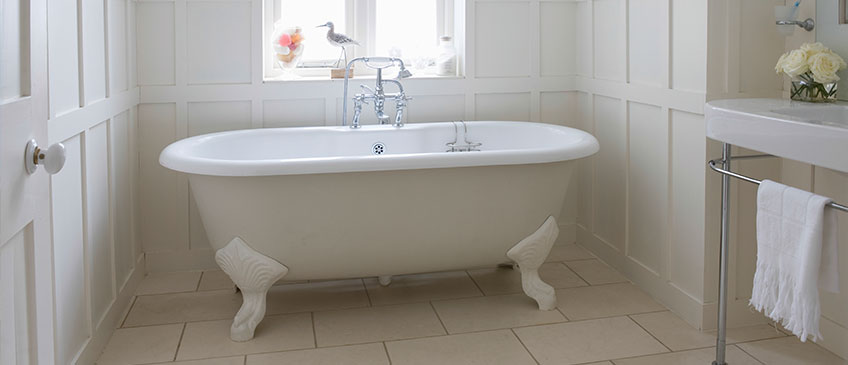
If you’re looking to paint your tub, find out how to properly do so in this handy article. There are a number of reasons you may want to paint your tub. By painting your tub, you can save yourself money by not having to buy a new one. You can also change the look and feel of your bathroom. Regardless of the reason you decide to paint your tub, there are three steps you’ll need to follow to ensure your painted tub turns out well. Keep reading to learn what these steps are.
Step One
Visit your local hardware store or go online to purchase a tub refinishing kit. Most tub refinishing kits are an Acrylic Epoxy mix which contains powerful fumes that you do not want to breathe in. Therefore, you should invest in a respirator and make sure you have proper ventilation before you begin using the refinishing kit.
Step Two
Step two involves prepping your tub for painting. You’ll need to give your tub a quick rinse with water and a bleach mix in order to remove any mildew. Then, you should sprinkle an abrasive cleaner like Comet and scrub your tub. Next, take a rough scratch pad and rub your tub down with some Lime Away. Lastly, take some 400/600 sandpaper and get to sanding. Make sure the entire tub is dry before moving on to the next step. Although it typically takes an hour and a half for the tub to dry, each case is different.
Step Three
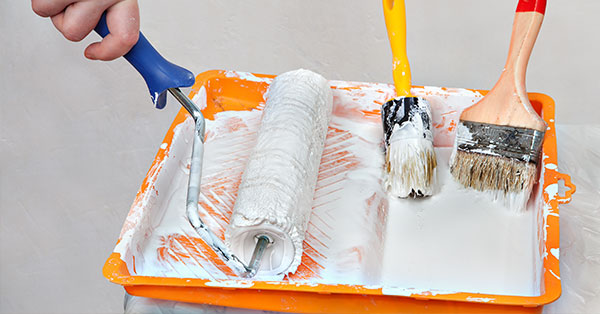
The last step is to actually paint the tub. Follow the instructions on the package and mix the two-part epoxy paint into one container. Painting a tub is much like painting a wall. Consider having two types of brushes at hand. A smaller handheld brush for the tight corners and a larger foam roller for the bigger areas.
Wrapping Things Up
Just for good measure apply a second coat and wait for about an hour and a half between each coat. After that, your tub is all ready for use! If you are nervous about damaging your tub or would like to ensure that your tub looks professionally painted, invest in painting services from a contractor.


